Part 5 of experiments in FreeBSD and Kubernetes: Getting started with CBSD
At the end of the previous post, I had finally finished installing CBSD and its dependencies and configuration.
Doing Stuff with CBSD
There are a bunch of video tutorials for managing bhyve with CBSD. I’m going to start by trying to creating a basic FreeBSD VM.
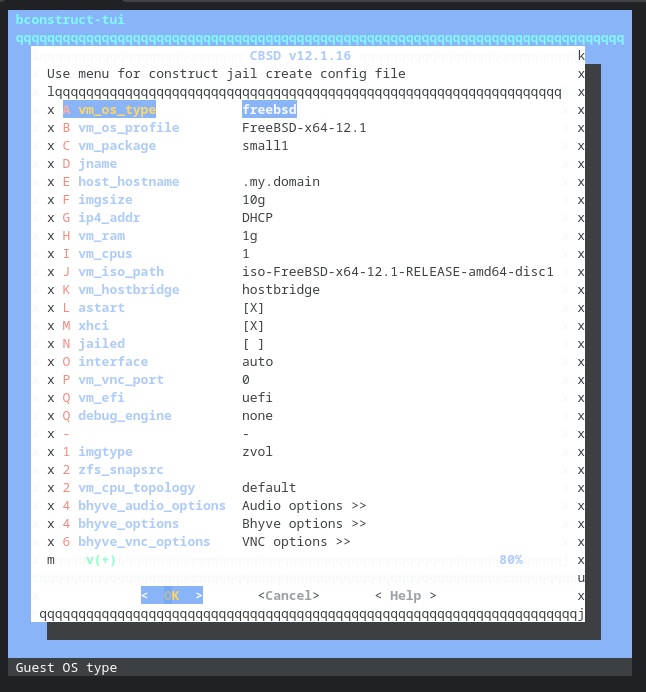
Yes, I (still) need to find a better terminal type for these menus in my Chrome OS Linux terminal. Suggestions welcome.
Other than choosing a jname of freebsd1, I keep all the defaults, and tell it to create the VM immediately.
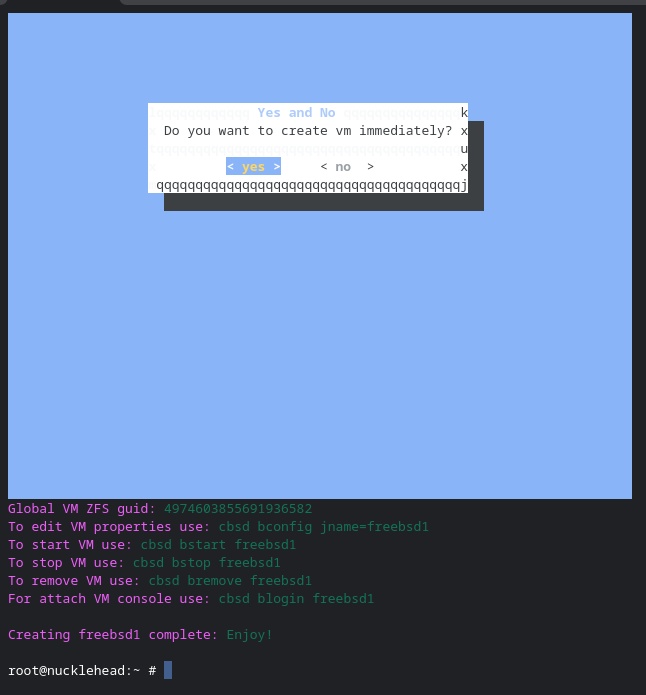
Oh, wait, I could use my Chromebook’s VNC app if the VNC port was bound to a routeable IP address.
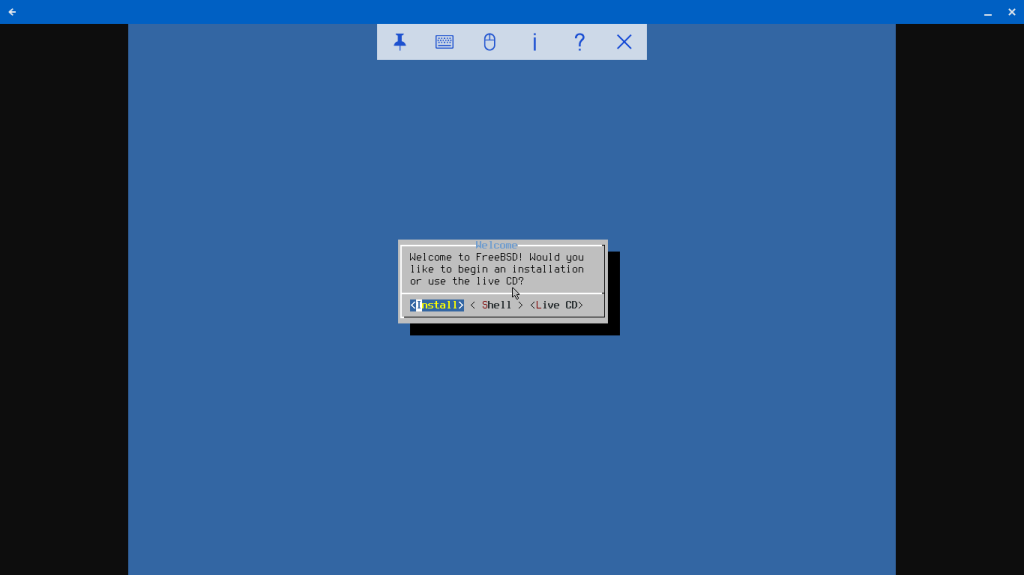
Screenshot of VNC desktop view of FreeBSD CBSD guest
I select “Install” and let it go. After rebooting, all is copacetic.
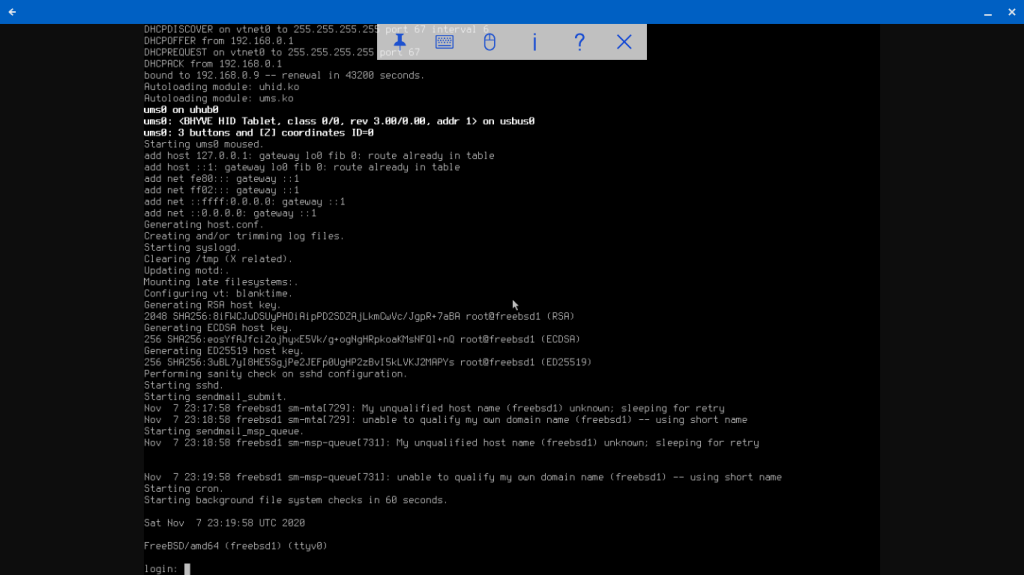
With CBSD, we get a FreeBSD bhyve guest with a ZFS-backed virtual disk and VNC desktop with just a few commands. Compare that to my first experiment with manual bhyve VM creation, when I had to create the virtual network interfaces manually, create my disk file, download the FreeBSD ISO disk image, keep track of the virtual device files, and execute separate load and boot commands each time to bring up the VM.
Doing Linux Stuff with CBSD
Ok, a FreeBSD guest was pretty simple. What about Linux? Arch Linux was the first distribution I tried when manually creating bhyve Linux VMs, so I’ll try that first with CBSD, which supports a lot of Linux distros out of the box. (You can also add others for your own use, which I will try later.)
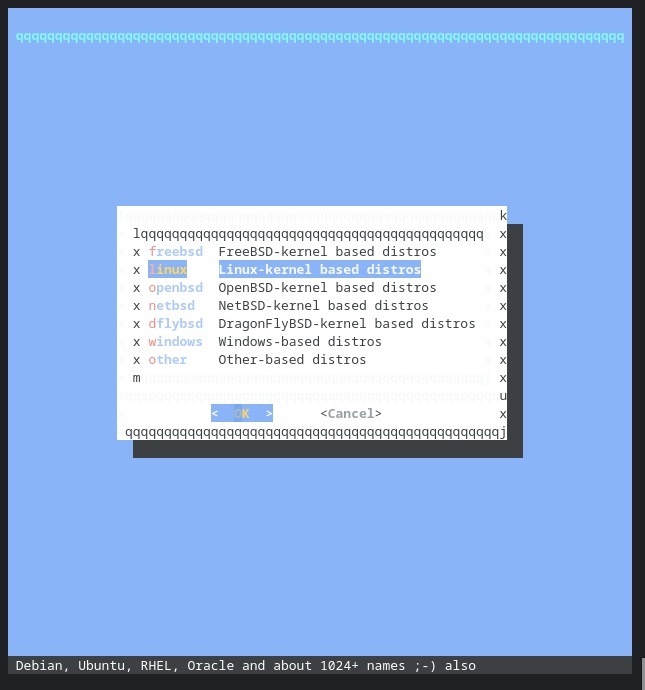
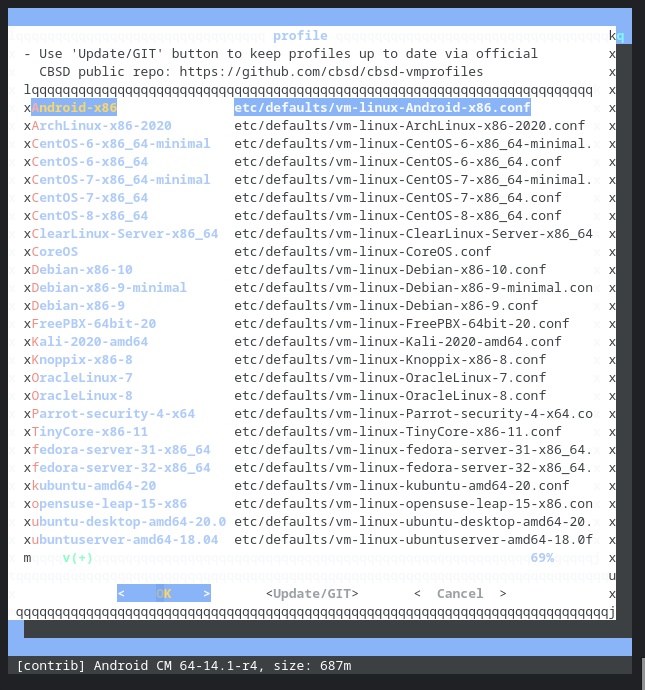
I selected ArchLinux, set the jname, set the VNC IP address so I could connect to the console from my Chromebook.
Because I don’t have the ISO image stored locally, it checks its configured mirrors and starts the download.
Hmmm. I hadn’t changed any other values. But that 6 bhyve_flags bit in the bhyve command it’s trying to run look suspicious. I look in the configuration file /usr/cbsd/jails-system/arch1/bhyve.conf and see the line bhyve_flags='6 bhyve_flags' which looks suspicious. I had descended into the bhyve flags options dialog in the UI, but hadn’t changed anything. There may have been some default text there which got entered? Either way, I edit the conf file to set bhyve_flags='' and run cbsd bstart arch1 again.
And got the same error. Even though I had edited the conf file, it had reverted. Apparently it’s getting generated. This time I run cbsd bset jname=arch1 bhyve_flags='' and try again. This time, success!
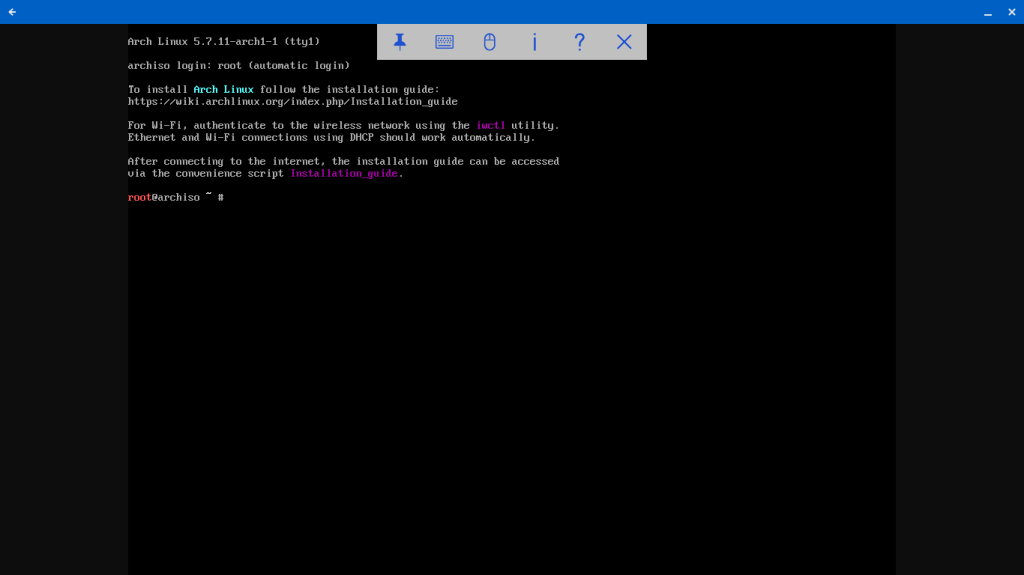
I follow the same installation steps as earlier. (One difference: the ZFS disk shows up as /dev/sda). I reboot and voila.
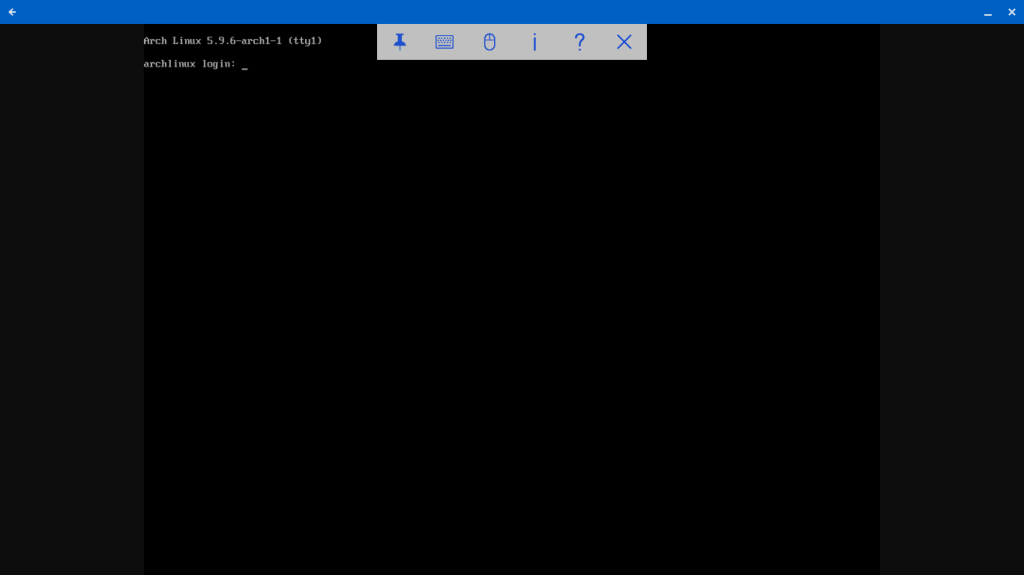
Ok, granted, that didn’t simplify the manual installation steps for Arch Linux, but it still reduced all the steps require for configuring the virtual network interface and disk, in addition to handling UEFI.
VM Reproduction
Using ZFS volumes for the VM virtual disk opens up the possibility of easily making copies of the VM image in the same ZFS storage pool. CBSD already has some tooling to support creating and using ZFS volume snapshots.
Since I’ve just installed a fresh Arch Linux VM, it would make a good source for a snapshot. I shut down the VM. (I don’t know if this is strictly necessary, but I don’t trust snapshots of unquiesced file systems. Yes, I know what AWS documentation says about EBS snapshots made on live systems being viable backups. No, they’re not.)
Oh, wait, I halted the VM from the shell, but I didn’t shut it down in bhyve. CBSD wants me to shut it down before cloning it, so there you go. Because ZFS clones use copy-on-write, they initially take up no additional disk space. Only when blocks get written or diverge from the original snapshot do they allocate actual disk space. CBSD also supports making an actual copy of the volume, which means it will no longer require the source snapshot. A full copy can take much longer to create, depending on the size of the volume and the storage performance.
And my new VM boots right up!
In the next part of this series, we will look at more options with CBSD, including configuring a custom VM profile.
